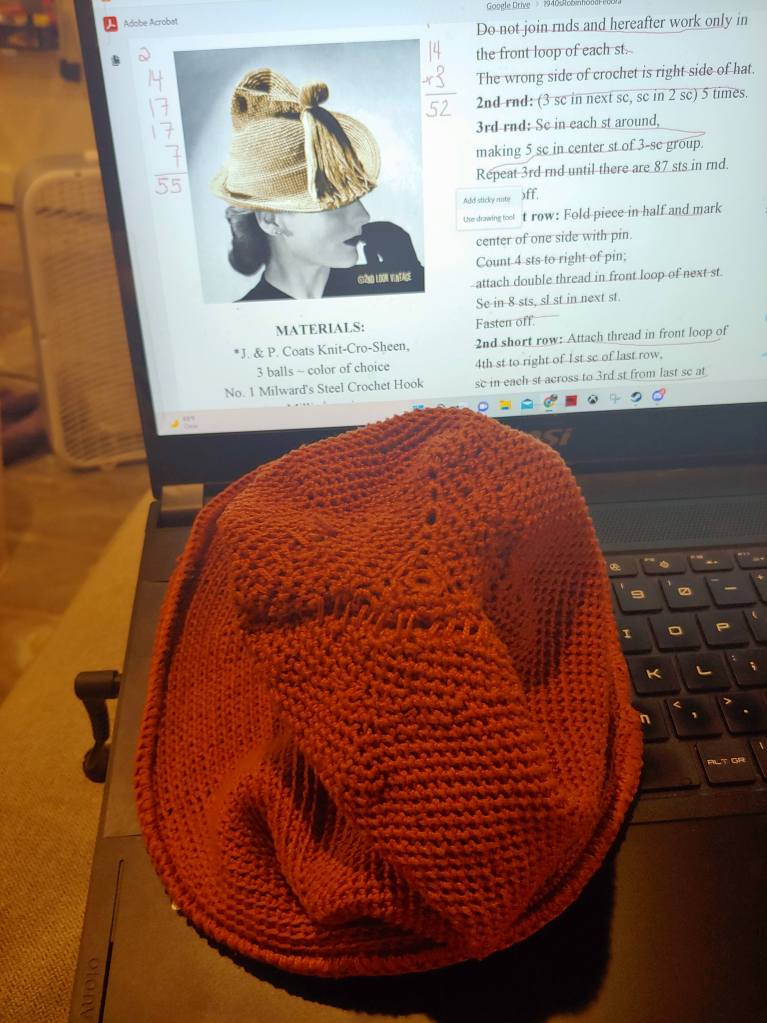
Well, shit.
I’ve got more hair than they did in the 1940s, apparently. And that’s with most of it shaved clean off. It’s a shame. It’s a very clever pattern, and the hat really is lovely. (You can grab the pattern here. [I do not make any cash if you buy it.])
But sometimes you take a chance, and it doesn’t work. That’s okay. I got to practice short rows (ugh) and the overall build on the hat was interesting and fun.
A few notes to help you out:
- You need a #10 crochet thread. You’re gonna double-strand it. You’ll need 575 yards. I used Knitpicks Curio.
- The pattern calls for a #1 Steel Crochet Hook. That can either be a 2.25mm or a 2.75mm. I used a 2.75, and it was still too small, but my stitches looked fantastic, so definitely go with that.
- There’s a very good spot in the pattern to add more increases. You do a series of them after the short rows. Then, the pattern says to work even for 4 inches. Just add more increases in the early rows of the 4 inches. I don’t think the overall structure of the hat will be impacted by doing that.
- There’s milliner wire in the edge of the brim. I used 1.5mm, and it was too thick. I don’t suggest going above 1mm.
- I am not the person to tell you how to sew the tuck (you can see my very questionable sewing in the photo). However, if anyone’s got tips, I would happily take them.
Lastly, and hilariously, this is the first vintage pattern I’ve used in awhile that did not have a single errata (Check out the Vintage Pattern Errata Page for ones I’ve tracked down so far). So, well done lovely hat! I will eventually try this one again, but for now, I’m happy to put aside the thread and tackle something else.