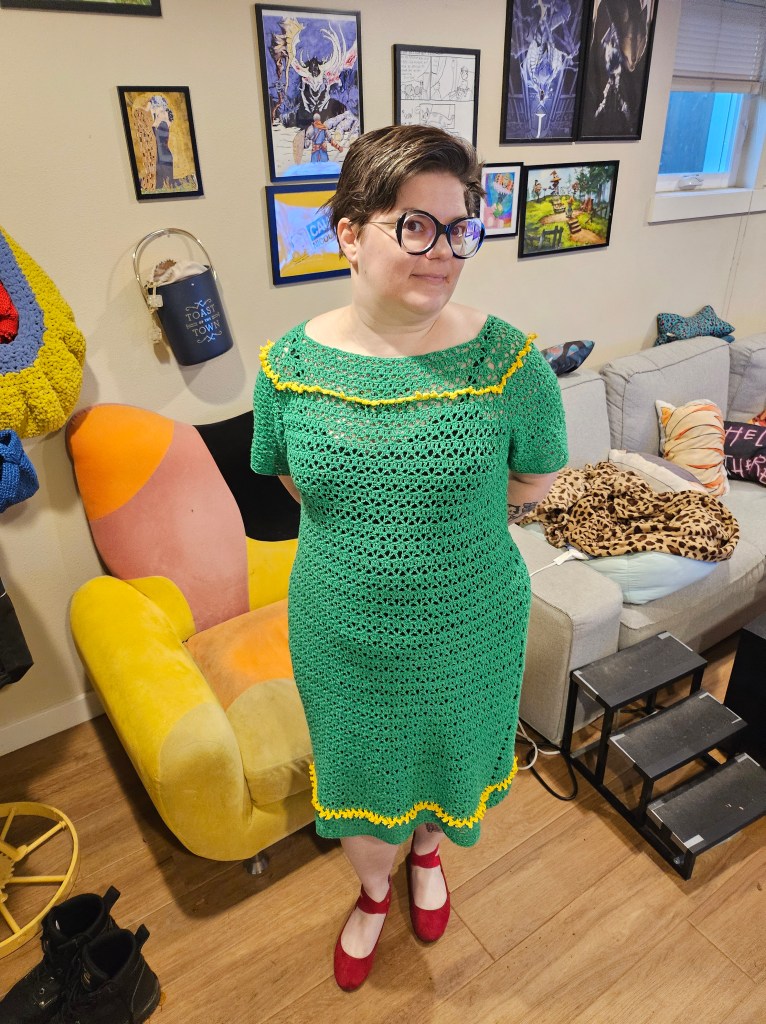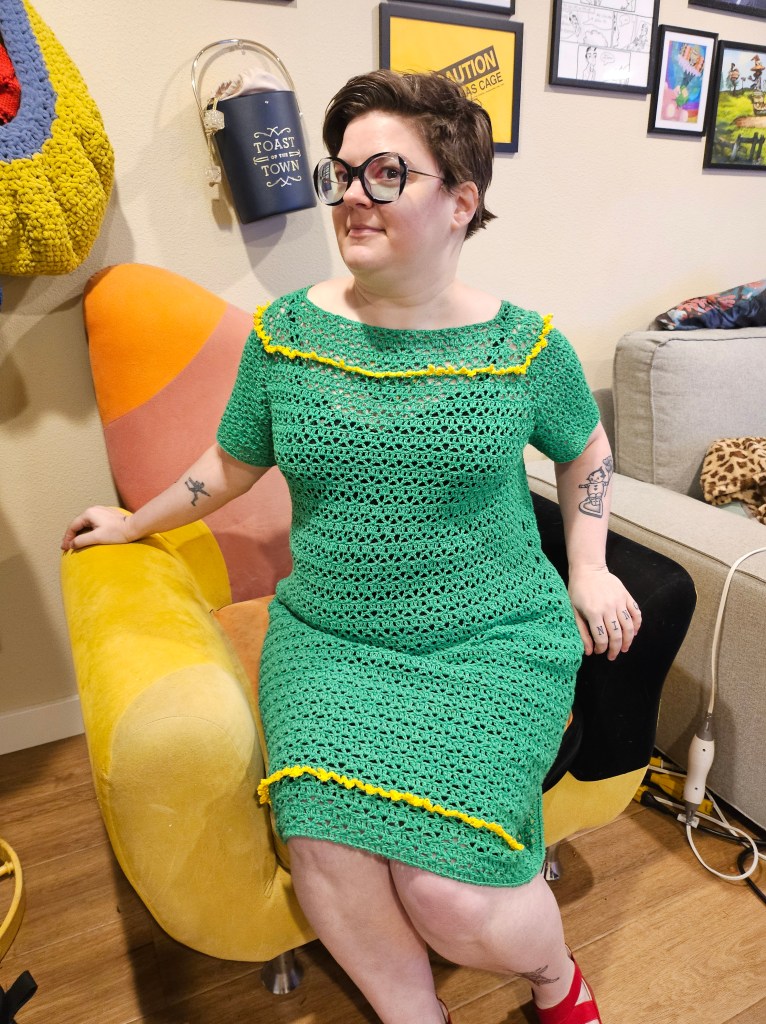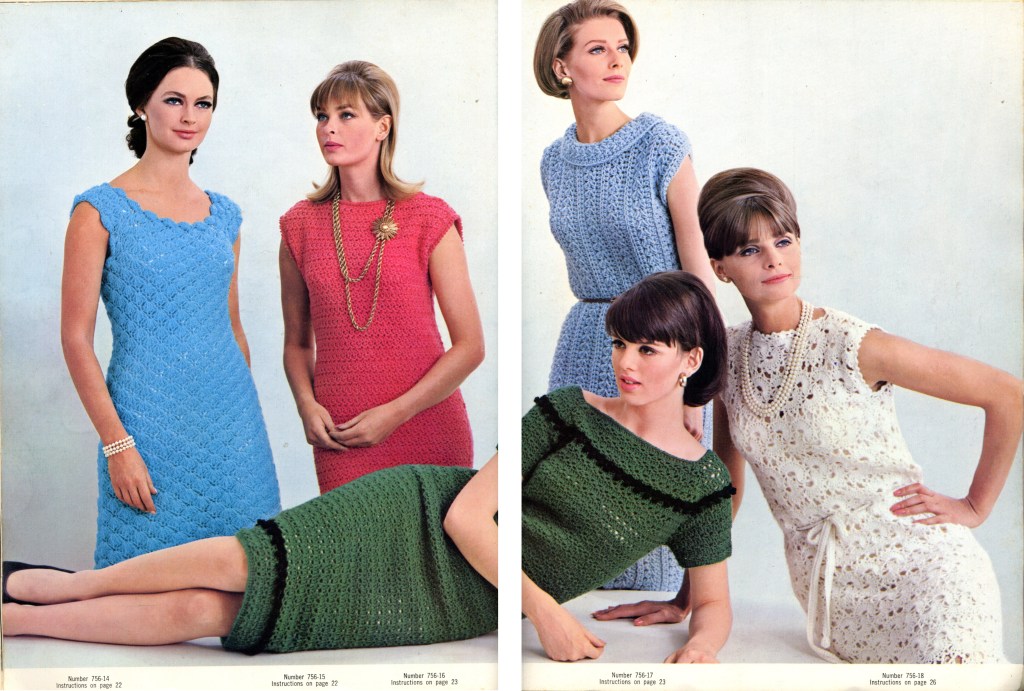
The green dress in the 18-20 size (the size I made), is designed to be 41″ around when sewn together. Size 18-20 in the 1960s meant any bust between 38-40 inches and hips between 40-42 inches. So, the top part of the dress fits me fine as designed. But the part around my hips needed to be increased by several inches to both get around my hips and also have the same ease as the rest of the garment. Using the provided gauge (9 DC = 2 inches), I created this increase and decrease so that I could create the needed hip space and then bring the dress back to the original measurements where they were needed.
I completed all of my increases on the back piece, which worked just fine but did cause the side seam to curve some. If you want your seams straight, split the increases equally between the front and the back and make sure to do them on the same rows.
To increase where needed on the green dress, do as follows:
- On a double crochet row (Row 3 repeat): DC in joined DC. DC 4 times in ch 2 space. Each increase will add approximately 1/2″ to the garment width. Space increases evenly.
- On the next row, complete all joined DCs as usual. You will have an extra DC for each 2 stitches you added.
To decrease, do as follows:
When completing a joined DC, skip 4 DC (instead of 2) for each increase you completed earlier. You do not have to put decreases on top of increases.
It is best to complete an increase or a decrease, then work two rows even for smooth shaping.
For the trim:
Join yarn in any DC on the same row indicated for the ball trim. SC around the DC post. ch 2. Complete a picot (ch 3, ss back into first chain of the 3). Ch 2. Skip next DC, SC around following DC. Repeat around.