You can make a belt bag in any yarn weight and any stitch pattern, really. It’s a very versatile sort of project. Just remember that however thick the belt is, you’ll have to double that when you fold over the end and sew it down to attach it to the belt buckle. In heavier yarns, that fold over could be pretty uncomfortable.
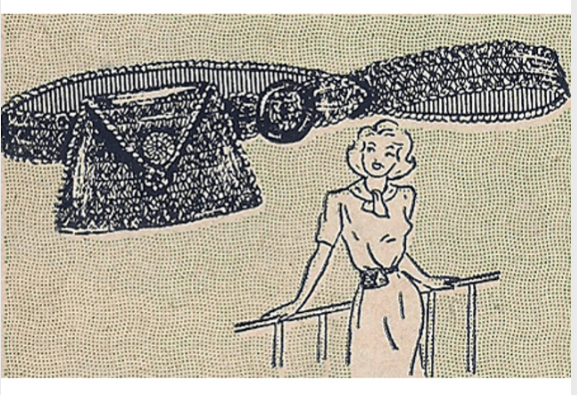
Here’s the one I made freehand (And here’s a video about it). The bag part is 2 circles that I stitched together, but you can make any sort of shape. There’s some tips near the end of the post about how to make the bag part.

Supplies:
- Yarn and hook
- Belt buckle
- Grosgrain ribbon
- Sewing supplies to attach ribbon
Anyway, let’s get to stitching! We’ll start with the belt:
Step 1: Make a chain that matches your waist measurement + 5 inches. So, if you have a 40-inch waist, you want a 45-inch chain. If you are working with a stitch pattern that requires an exact repeat of chains to start, don’t worry if you’re a little over the 5 inches.
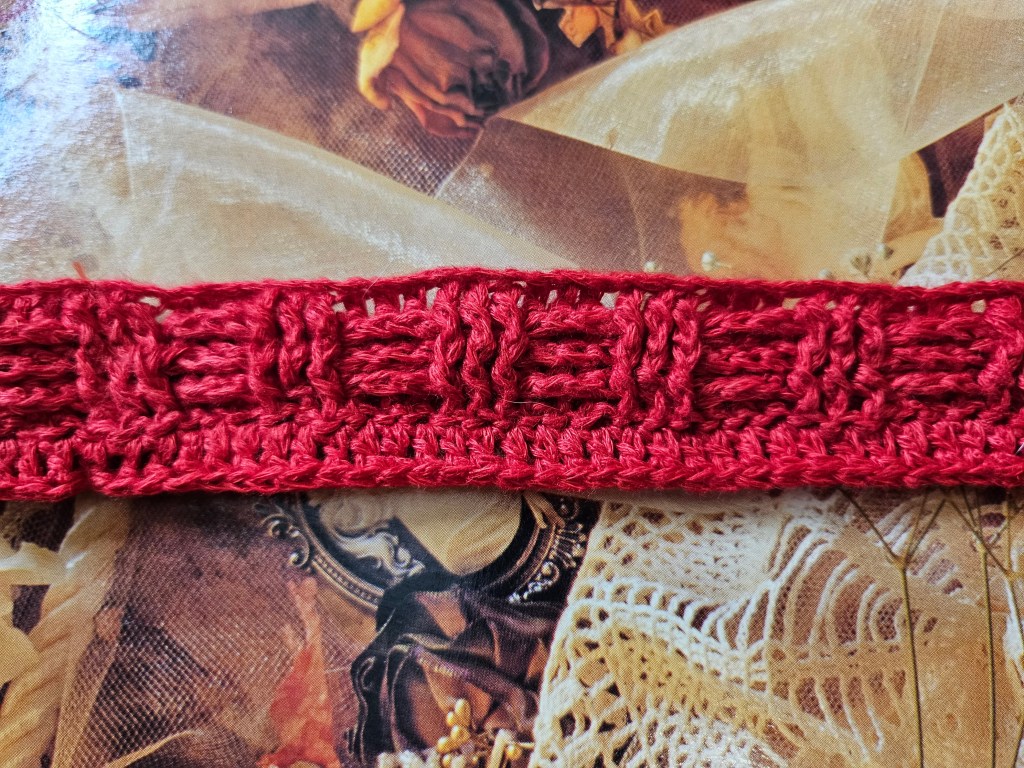
Step 2: Work your stitch pattern until your belt measures 1-inch tall, then fasten off. I used a basketweave stitch with fingering weight yarn and a 2.75mm hook. It took five rows.
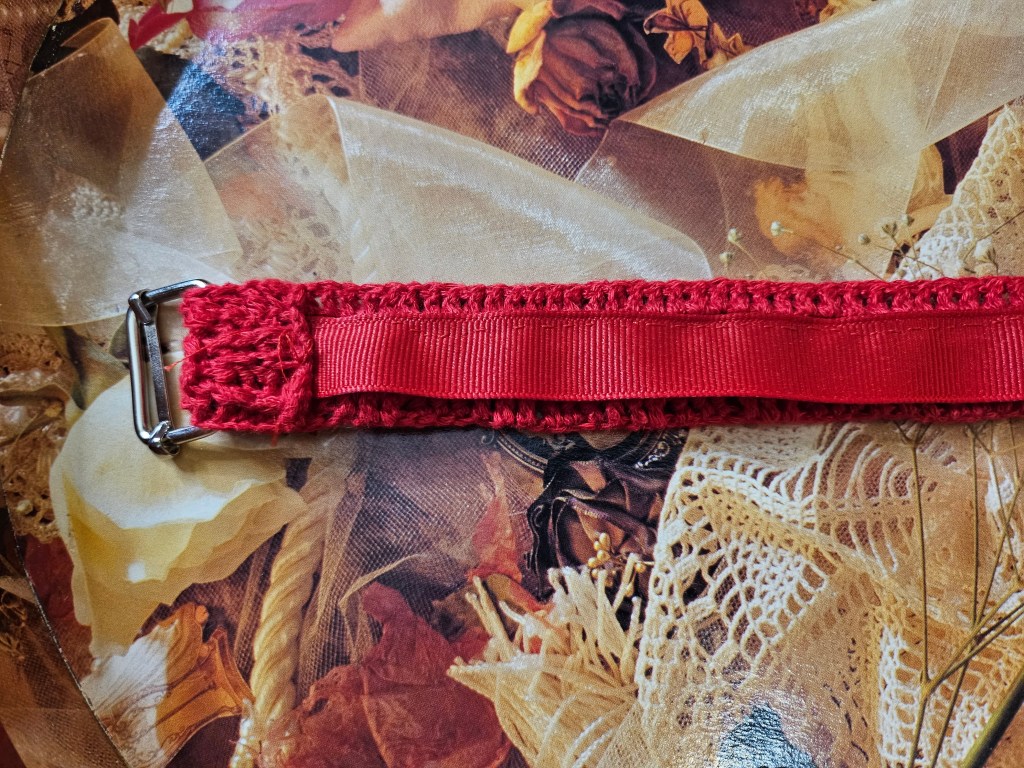
Step 3: Cut ribbon 1/4 an inch shorter than your belt, then pin it in place on the backside of the belt. Sew it in place.
Step 4: Fold one end of the belt around the belt buckle and sew it into place.
Okay, that’s the belt done! The bag isn’t quite as straightforward because you can make it in any number of ways. The one I made was just 2 circles I worked, then added a small edging to. What’s important when making the bag is to make sure you make the loop to slip it onto the belt. You can make it separately from the bag pieces, or you could attach it directly to one side of the bag like I did with mine:
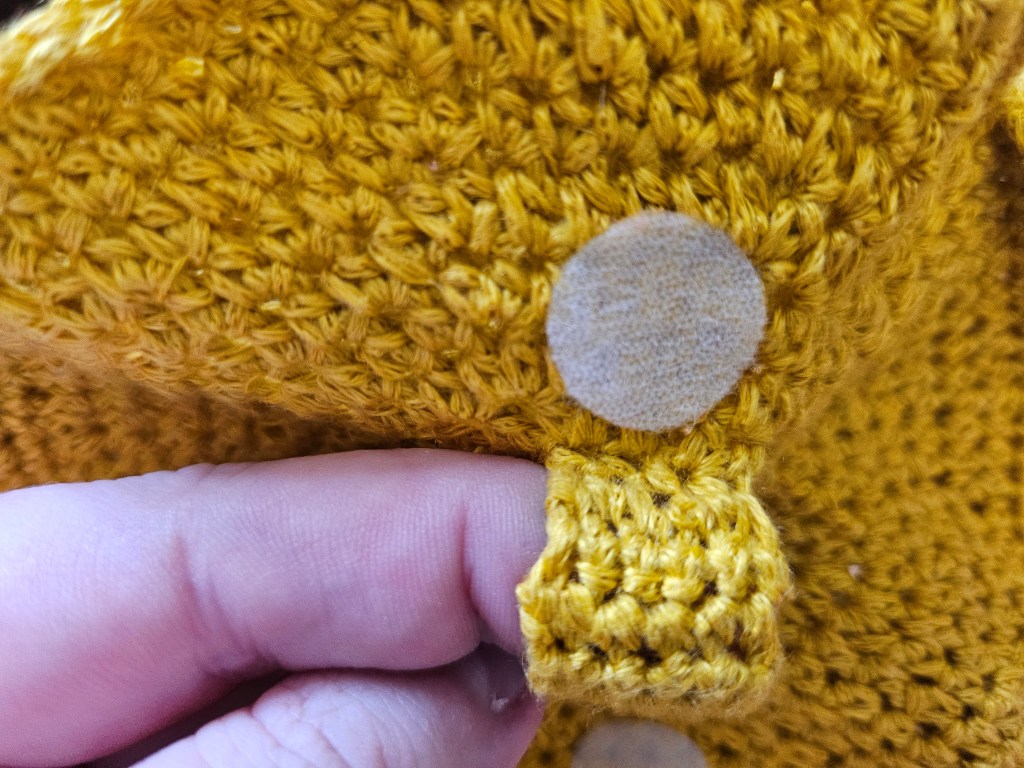
You want this loop to be 1-1/4 inches so it’s easy to slide where you want it.
A few tips for making the bag:
- If you love a good motif, a bag belt is a great way to use them. Just make two that you like (here’s a whole book of them [not a sponsored link, just a book I use]).
- Keep in mind that if you’re using an open work stitch for your bag, you’ll either need to line it so nothing small falls out or just not put small stuff in there.
- Lining the bag no matter the stitch pattern would give it a bit more structure and make it easier to carry heavier items like your phone.
As always, just have fun! If you want to get your hands on some vintage belt bags, here’s a few links [again, not sponsored]:
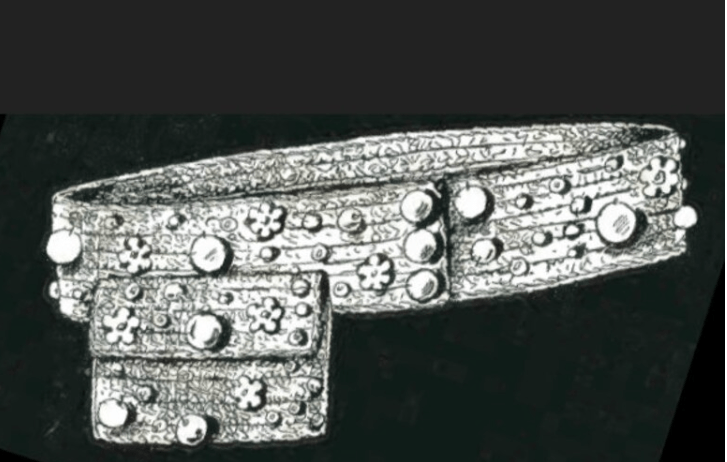
This cutie with lots of details you get to add on.
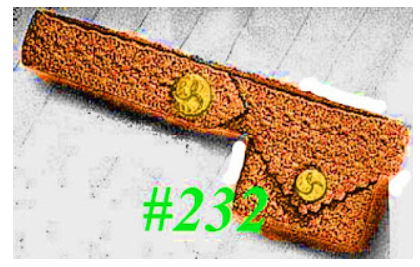
Fun matching button one (hosted here, found on a blog from 2018, and I don’t want to lose it).
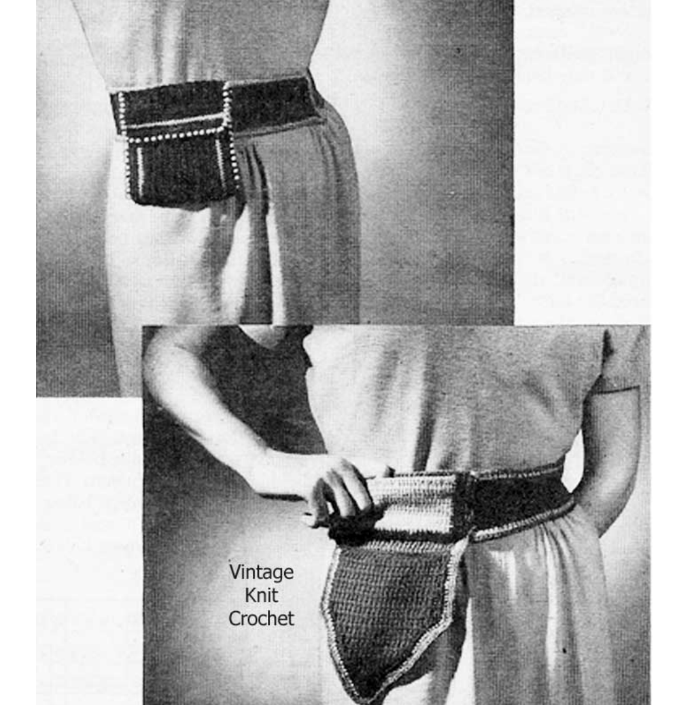
A slightly larger one done in Tunisian.